Welcome to our websites!
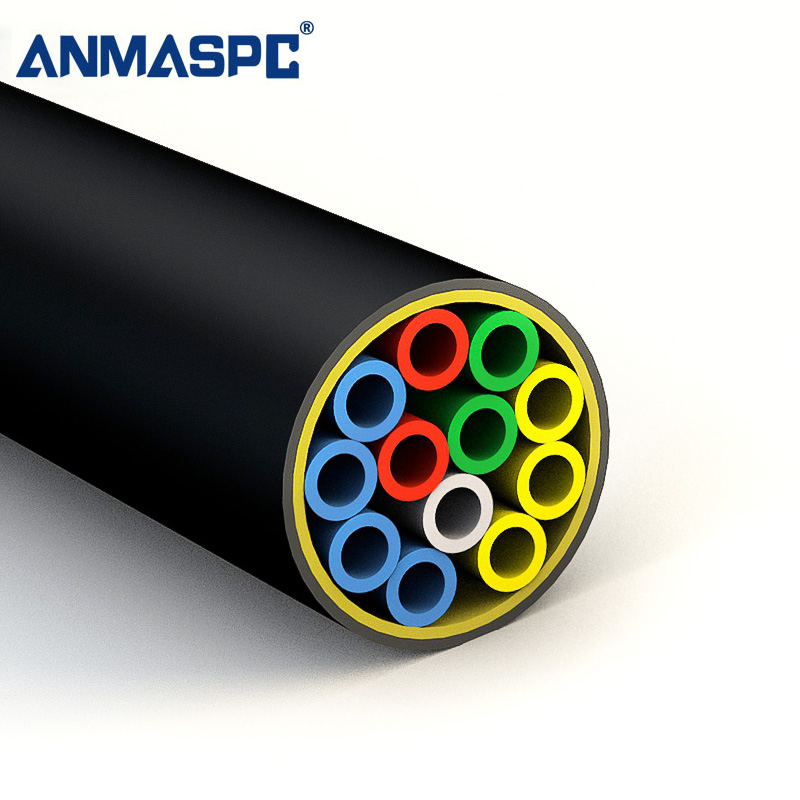
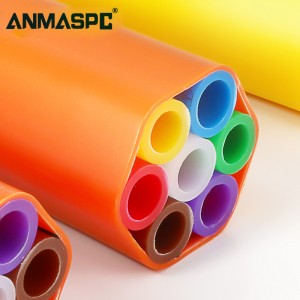
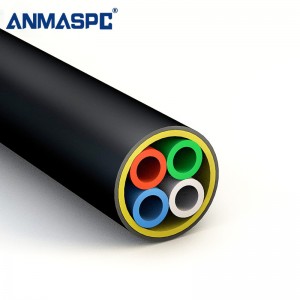
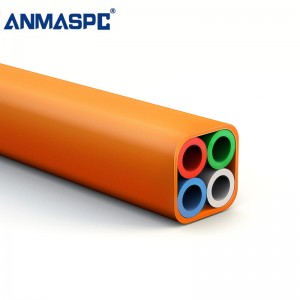
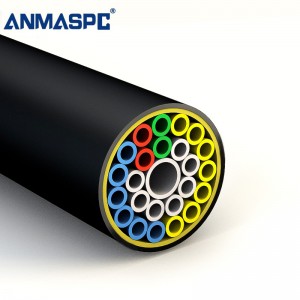
12 ways 5/3.5mm FTTH HDPE TUBE

12 ways
|
Physical and Mechanical Properties – Inner Micro duct 5/3.5mm
|
|||
|
1
|
Visual appearance
|
Visual inspection
|
Ribbed inside & smooth outside surface, free from blisters, shrink hole, flaking, scratches & roughness.
|
|
2
|
Outer diameter
|
ANMASPC |
5.0mm ± 0.1mm
|
|
3
|
Wall thickness
|
ANMASPC |
0.75mm ± 0.10mm
|
|
4
|
Inner diameter clearance
|
Blowing steel ball
|
A 3.0mm steel ball can be blown freely through the duct.
|
|
5
|
Ovality
|
ANMASPC |
≤ 5%
|
|
6
|
Pressurization
|
5 minutes @15bar each duct
|
No damage and leakage
|
|
7
|
Kink
|
IEC 60794-1-2 Method E10
|
≤ 50mm
|
|
8
|
Tensile strength
|
Rate of extension:
100mm/min |
≥ 185N
|
|
9
|
Crush
|
Sample length: 250mm
Load: 550N Duration of Max. load: 1 min Recovery time: 1 hour |
No residual deformation > 15% of inner and outer diameter, shall pass inner diameter clearance test.
|
|
10
|
Impact
|
IEC 60794-1-2 Method E4
1.0 J Impact, recovery time 1 hour |
No residual deformation > 15% of inner and outer diameter, shall pass inner diameter clearance test.
|
|
11
|
Heat reversion
|
110℃ ~ 23℃, 1 hour
|
≤ 3%
|
|
12
|
Min. bend radius
|
60mm
|
No residual deformation > 15% of inner and outer diameter, shall pass inner diameter clearance test.
|
|
13
|
Co-efficient of Friction
|
750mm Diameter, 450°loop, 5kg mass
|
≤ 0.1
|
|
14
|
Color and printing
|
Visual inspection
|
As per customer specification
|
|
Test
|
Characteristic
|
Test Method
|
Acceptance Criteria
|
|
Physical and Mechanical Properties – tube bundles
|
|||
|
1
|
Visual appearance
|
Visual inspection,
Outer sheath: Black |
Ribbed inside & smooth outside surface, free from blisters, shrink hole, flaking, scratches & roughness.
|
|
2
|
Outer diameter
|
ANMASPC |
23.7mm (± 1.1mm)
|
|
3
|
Sheath Wall thickness
|
ANMASPC |
1.70mm ± 0.20mm
|
|
4
|
Pressurization
|
5 minutes @15 bar each duct
|
No damage and leakage
|
|
5
|
Tensile strength
|
Rate of extension:
100mm/min |
≥ 2200N
|
|
6
|
Crush
|
Sample length: 250mm
Load: 1000N Duration of Max. load: 1 min Recovery time: 1 hour |
No residual deformation > 15% of inner and outer diameter, shall pass inner diameter clearance test.
|
|
7
|
Impact
|
IEC 60794-1-2 Method E4
3.0J Impact, recovery time 1 hour |
No residual deformation > 15% of inner and outer diameter, shall pass inner diameter clearance test.
|
|
8
|
Min. bend radius
|
480mm
|
No residual deformation > 15% of inner and outer diameter, shall pass inner diameter clearance test.
|
|
9
|
Color and printing
|
Visual inspection
|
Orange or as per customer specification
|
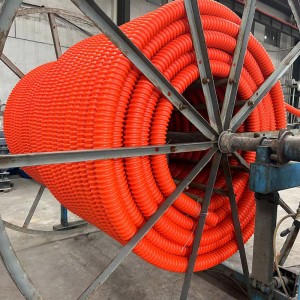
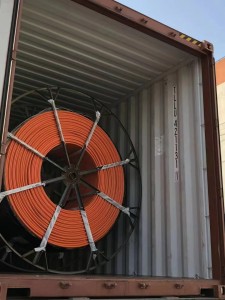
Completed packages of the HDPE micro duct on drum can be stored outdoor max. 6 months upon the date of production. Storage temperature: -40°C ~ +70°C Installation temperature: -30°C ~ +50°C Operating temperature: -40°C ~ +70°C
Essential details
- Model Number:12ways 5/3.5mm DI Tube Bundle
- Type:Micro Duct & Tube bundle
- Place of Origin:Wenzhou, China
- Brand Name:ANMASPC
- Use:FTTH
- Warranty Time:24months
- Network:None
- Sub duct Inner diameter:3.5mm
- Sub duct outer diameter:5mm
- PE Sheath:1.7mm
- Outer Diameter::23.7mm (± 1.1mm)
- Tensile Strength:≥ 2200N
- Storage Temperature::-40°C ~ +70°C
- Installation Temperature:-30°C ~ +50°C
- Operating Temperature:-40°C ~ +70°C
- Min. bend radius:480mm
- Crush:1000N
Supply Ability:1000000 Meter/Meters per Week
Write your message here and send it to us


